
I recently watched some interesting YouTube videos demonstrating the use of a python library called “fauxmo” to create fake Wemo plugs that Alexa can control. Unfortunately my python-fu isn’t as strong as I’d like it to be, so I searched npm for a similar library in Node.JS. The one I found wasn’t working for me, and I noticed others were complaining about the same thing in the repository’s GitHub issues. It was then I decided to make a new library, and thus node-fauxmo was born!
These personal projects are a lot to me like playing The SIMs. I like to create something and then watch the world use it. I don’t feel like this project is getting the attention it deserves, so I’m going to break down the installation, setup and provide a basic script to get you started.
Step 1 – Download and Install Node.JS
For starters, you’ll need to download and install Node.JS. Windows and macOS users will need to download it from here https://nodejs.org/en/download/. Linux users can install using their native package manager. I recommended searching for instructions specific to the distribution you’re running. Trust me, there are tons of them!
Step 2 – Make a Directory for Your Project
Make a directory somewhere to hold your project, launch a command prompt or terminal, and change into the directory you just created. In the example below, I’m making a folder on my Windows 10 Desktop named “control-alexa”.
C:\Users\Lyas> mkdir Desktop\control-alexa
C:\Users\Lyas> cd Desktop\control-alexa
C:\Users\Lyas\Desktop\control-alexa>
Step 3 – Download the node-fauxmo Library
Type the following command so that “node package manager” will download the node-fauxmo library for you to use in your project. You’ll notice a node_modules directory gets created containing the libraries and dependencies needed.
npm install node-fauxmo
Step 4 – Create the Configuration for Your Devices
Create a file named index.js in the directory and paste the following code into it.
'use strict';

const FauxMo = require('node-fauxmo');

let fauxMo = new FauxMo(
{
	devices: [{
		name: 'Fake Device 1',
		port: 11000,
		handler: function(action) {
			console.log('Fake Device 1:', action);
		}
	},
	{
		name: 'Fake Device 2',
		port: 11001,
		handler: function(action) {
			console.log('Fake Device 2:', action);
		}
	}]
});
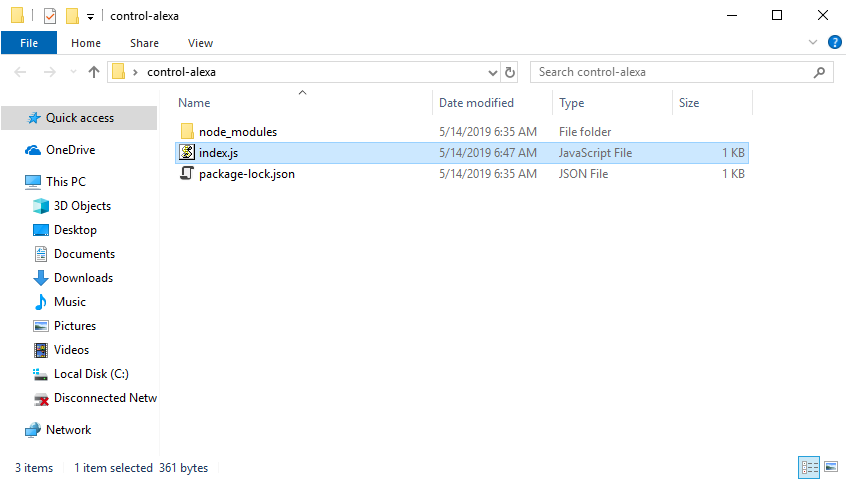
This example will make 2 devices named “Fake Device 1” and “Fake Device 2”. They will listen on ports 11000 and 11001. Each device will need to listen on its own unique port. You can change this to anything you’d like usually between 1024 and 65,535 as long as it doesn’t conflict with ports used by an existing process. To make sure you’ve got everything where it belongs, here’s a screenshot of my directory. The package-lock.json file was created automatically and is not important in this case.
Step 5 – Start Your Devices!
Start your “fake” devices by running the command node index.js. This will cause node to start listening on UDP port 1900 for SSDP Discovery requests as well as listen on any TCP ports specified in your index.js configuration for On/Off requests from Alexa.
node index.js
If everything is working correctly, you should see output like the below text.
C:\Users\Lyas\Desktop\control-alexa>node index.js

Adding multicast membership for 192.168.1.198

Adding multicast membership for 127.0.0.1

server is listening on 11000

server is listening on 11001
If you get an error like “Error: bind EADDRINUSE 192.168.1.198:1900,” you’ll need to find which process is already listening on port 1900 and stop it. In my case, I am running Windows 10, and I needed to stop the native “SSDP Discovery” service. If this is the case for you too, you can use the command “net stop SSDPSRV” to stop it.
net stop SSDPSRV
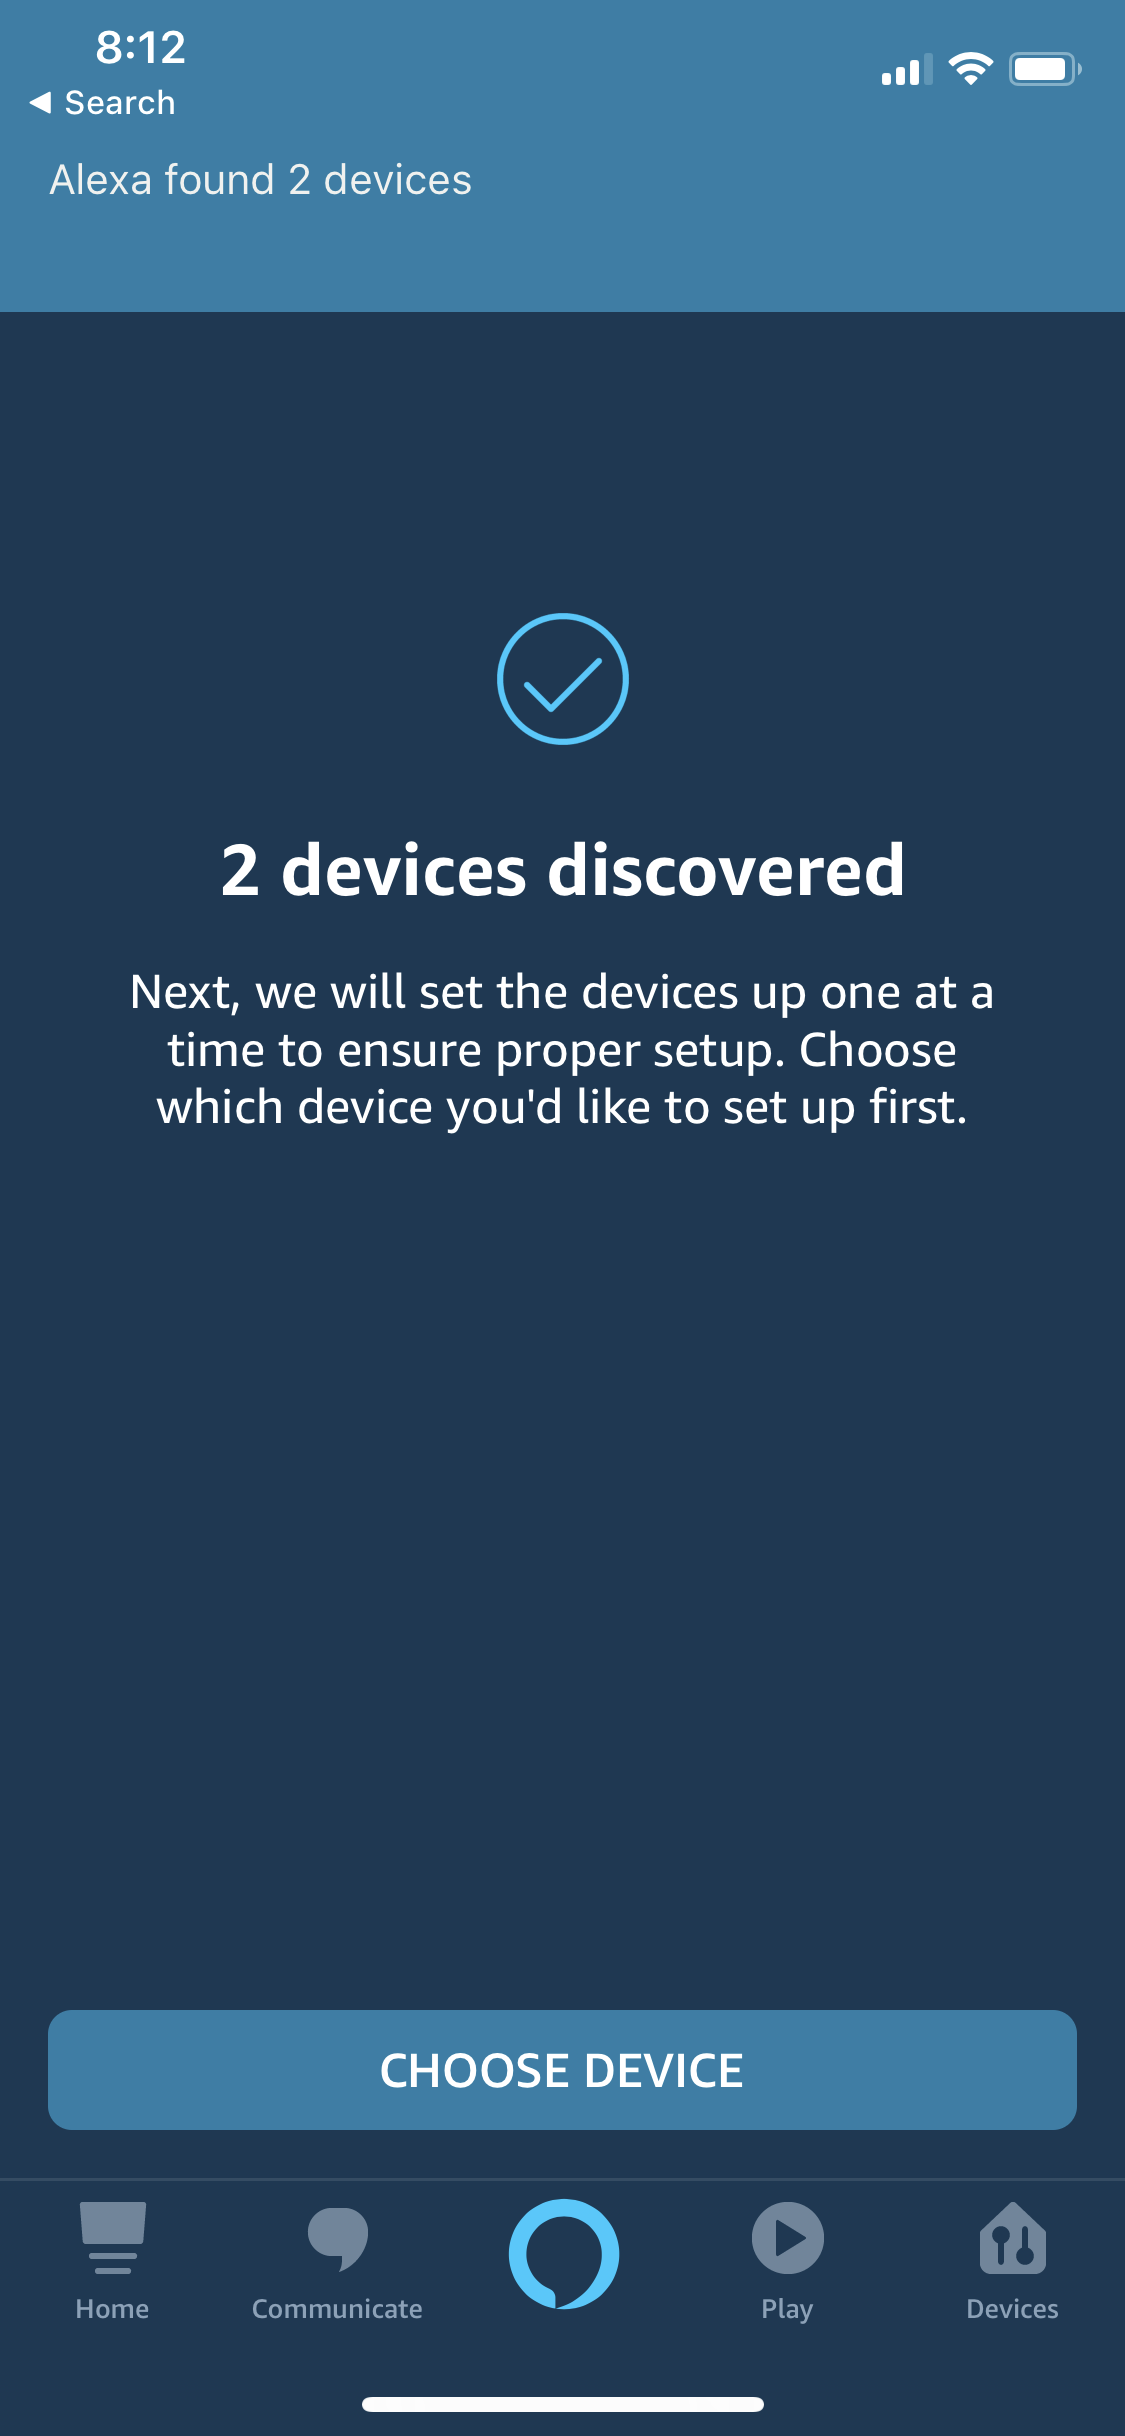
Step 6 – Tell Alexa to Discover New Wemo Plugs
Finally launch your Alexa companion app and tell it to discover new Belkin Wemo plugs.
After the devices have been discovered, you can tell Alexa, “Turn on/off Fake Device 1.” In the output of the console/terminal you will see output like the below by default with “1” representing on and “0” representing off.
Fake Device 2: 1

Fake Device 2: 0

Fake Device 1: 1

Fake Device 1: 0

Fake Device 1: 1

Fake Device 1: 0
Now it’s time to get creative and write some custom javascript into the “handler” callback for your devices! It also comes in handy to make some Alexa “routines” with custom phrases more appropriate to whatever you may program her to do. For some inspiration, checkout my YouTube video where I get Alexa to launch Chrome and lock my PC using node-fauxmo. https://www.youtube.com/watch?v=tbjVvMIh810. Let me know in the comments what kinds of interesting, custom things you’re able to get Alexa to do and if you’re using some cool hardware like the Raspberry Pi to host your fake Wemo devices.
I actually replaced the “original” fauxmo library with yours for my project (https://github.com/lucone83/lgtv-alexa-skill), and it works actually better. Keep up the good work 🙂
That’s great! Thank you for commenting and the encouragement!
ozk@ubuntu:~/Escritorio/WeMo$ node index.js
/home/ozk/Escritorio/WeMo/node_modules/node-fauxmo/src/SSDPService.js:87
throw err;
^
Error: bind EADDRINUSE 0.0.0.0:1900
at state.handle.lookup (dgram.js:242:18)
at process._tickCallback (internal/process/next_tick.js:63:19)
at Function.Module.runMain (internal/modules/cjs/loader.js:745:11)
at startup (internal/bootstrap/node.js:283:19)
at bootstrapNodeJSCore (internal/bootstrap/node.js:743:3)
ozk@ubuntu:~/Escritorio/WeMo$
A process on your system is already listening on port 1900. Use a command like “ss -anulp” to find it.
device_dtls.forEach(item => {
console.log(“00000”,item);
let fauxMo = new FauxMo(
{
devices: [
{
name: item.utterences,
port: 11003,
handler: function(action) {
console.log(‘Fake Device 4:’, action);
dev4handler(action);
},
statusHandler: function(callback) {
callback(dev4statushandler());
}
}
]
});
})
Getting error like
Adding multicast membership for 192.168.56.1
dgram.js:566
throw errnoException(err, ‘setMulticastInterface’);
^
Error: setMulticastInterface EBADF
at Socket.setMulticastInterface (dgram.js:566:11)
Are you running Windows, Linux, something else? Perhaps your issue is privileges?
Hey! How did you get the Alexa to launch chrome on your device!
I just put some code in the “handler” function of my fake device to launch chrome.exe. Then I made a routine with whatever phrase I used for the demo to “turn on/off” the device which ultimately just triggers the handler function.